Choose the level of fidelity you need
Plausible repair and unchanged pixels are different goals
Removing text leaves an area that needs new image detail. A background may look convincing at normal viewing size while its lines, texture or small objects have changed. This page helps you inspect that difference instead of treating a missing caption as the only success condition.
| Your requirement | A useful approach | What to check |
|---|---|---|
| A plausible backdrop for a casual image | Test this tool on one copy and inspect the whole output. | Visible seams, smears, lighting changes and altered objects. |
| Repeating bricks, stripes or woven fabric | Name the pattern in your request and compare enlarged views. | Line continuity, repeat spacing, weave direction and folds. |
| Exact product, logo or architectural detail | Prefer an unlettered original or an editor with a controlled local selection. | Compare every required feature, not just the repaired area. |
| No changes outside the text area | Use a workflow that lets you explicitly control the affected pixels. | This workspace has no mask or pixel lock. |
A preservation instruction can express your intent. It cannot establish pixel equality or recover the exact information hidden by opaque letters.
Set a reference before processing
Remove the text and review the background
- 01 / Keep a reference
Choose the best original
Keep an untouched copy. Find a line or texture that crosses the text: a mortar joint, stripe, seam or shadow makes a useful reference. Preview the complete upload before submitting.
- 02 / State the pattern
Describe what should continue
Quote the letters to remove. Name the background, its direction and the objects or wording to retain. Review the prepared instruction in the editor and adapt it to your image.
- 03 / Check the full file
Inspect beyond the lettering
Compare the target area, then the rest of the image. Open the downloaded file at its native resolution and intended display size. Save it as a separate copy only after checking important details.
If the text sits in an expendable border, a crop may be sufficient. If the background must stay exact, work on a copy in an editor with a local selection. Repeating an AI request creates another variation and consumes another task and credits.
Straight mortar and fine weave
Inspect actual background reconstruction
These original before images were generated for this guide. Each result comes from the current Image Text Eraser tool using the exact request shown. Open the enlarged center view to inspect joins, then download both native PNGs to compare detail and file dimensions.
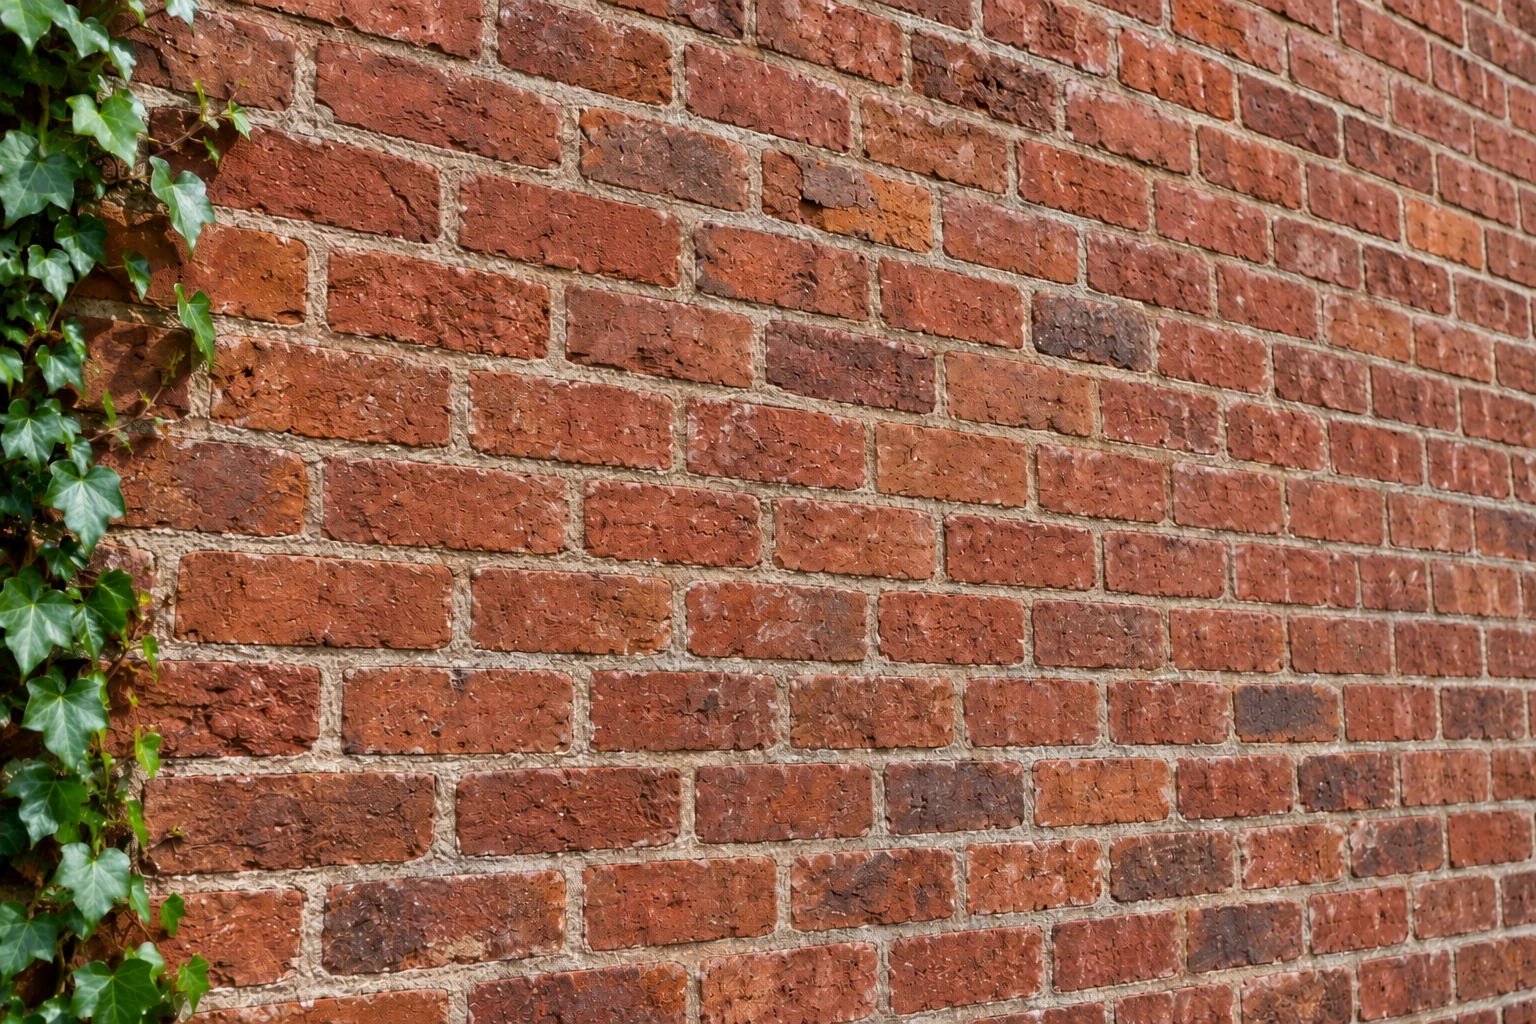
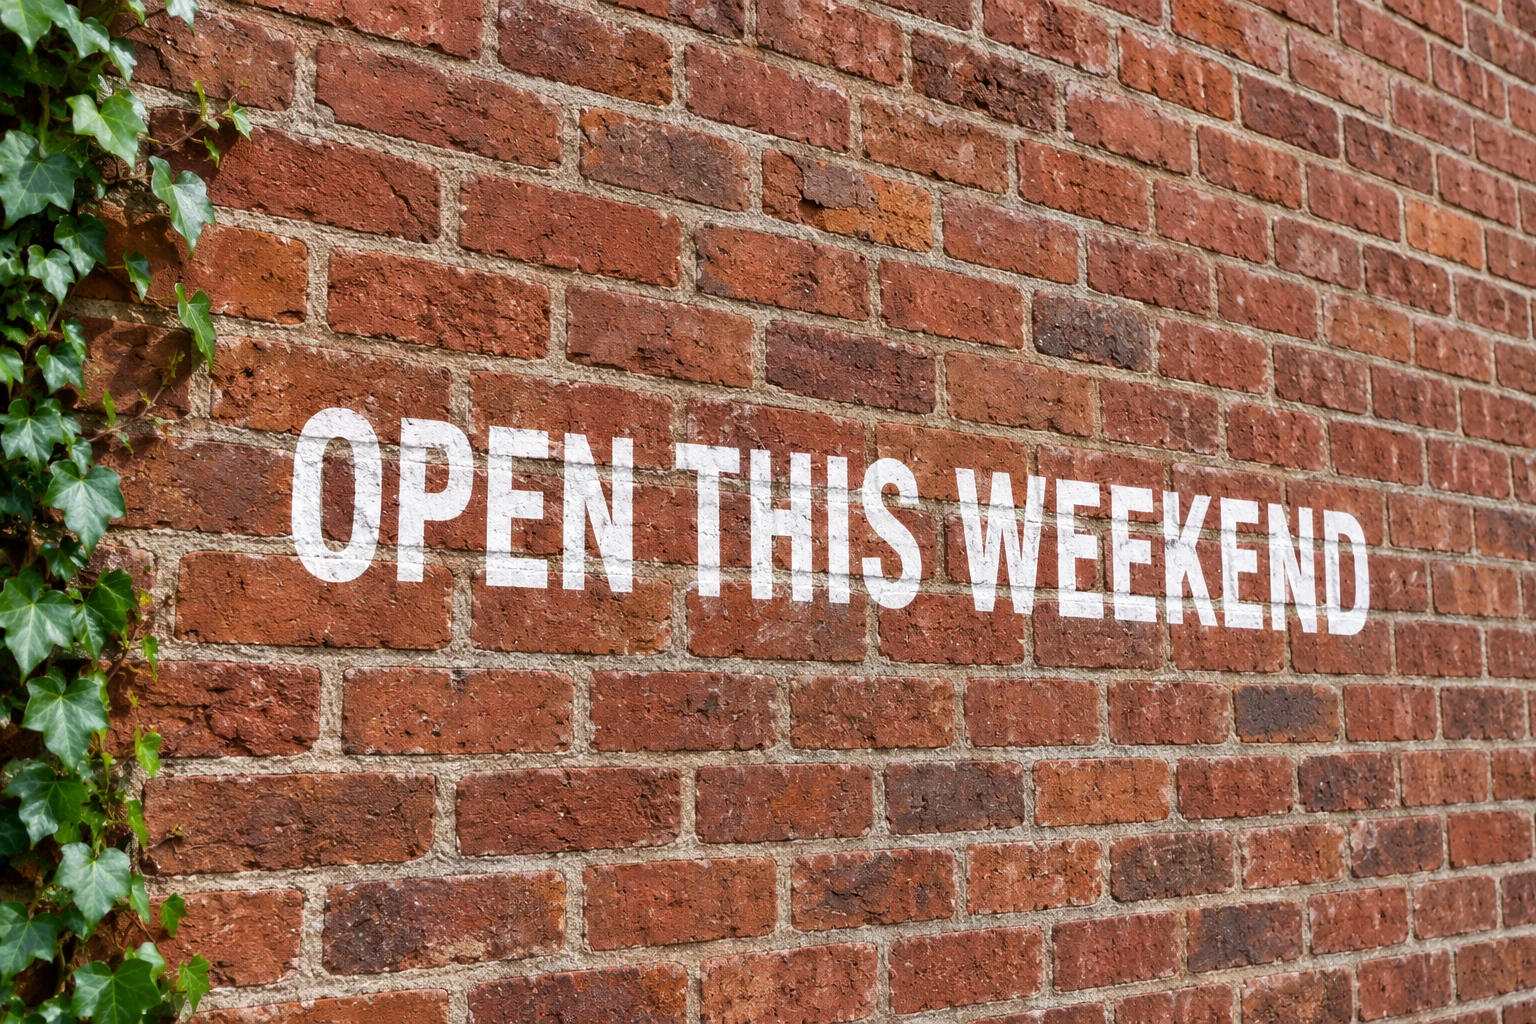
Original generated source · Actual tool result · October 29, 2026.
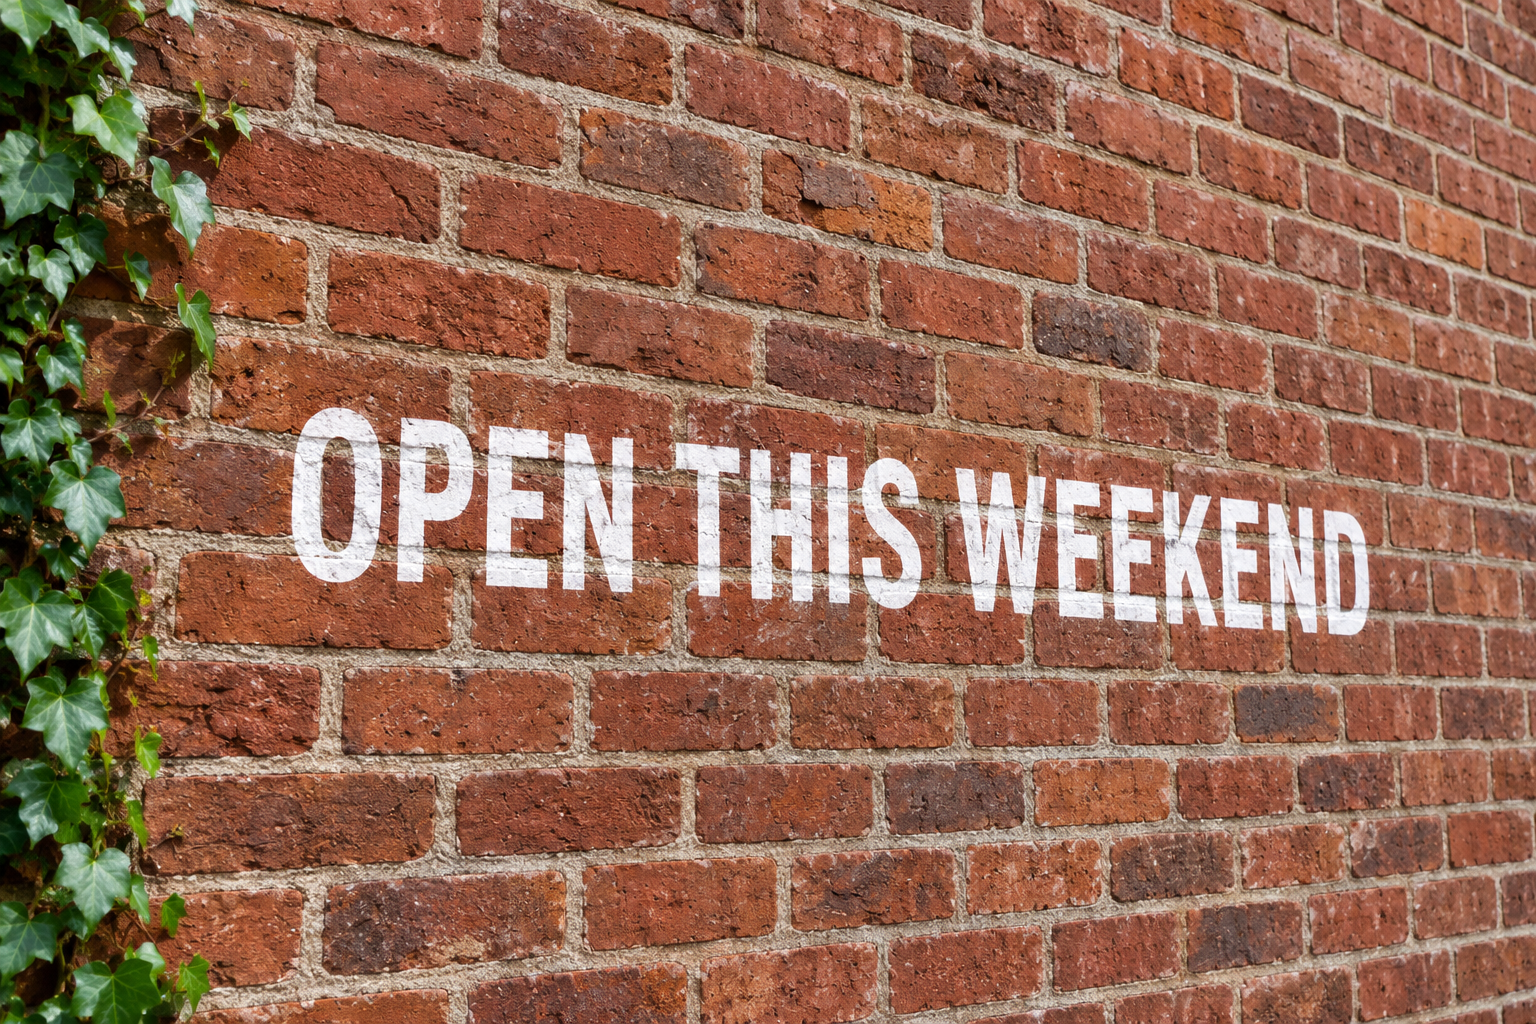
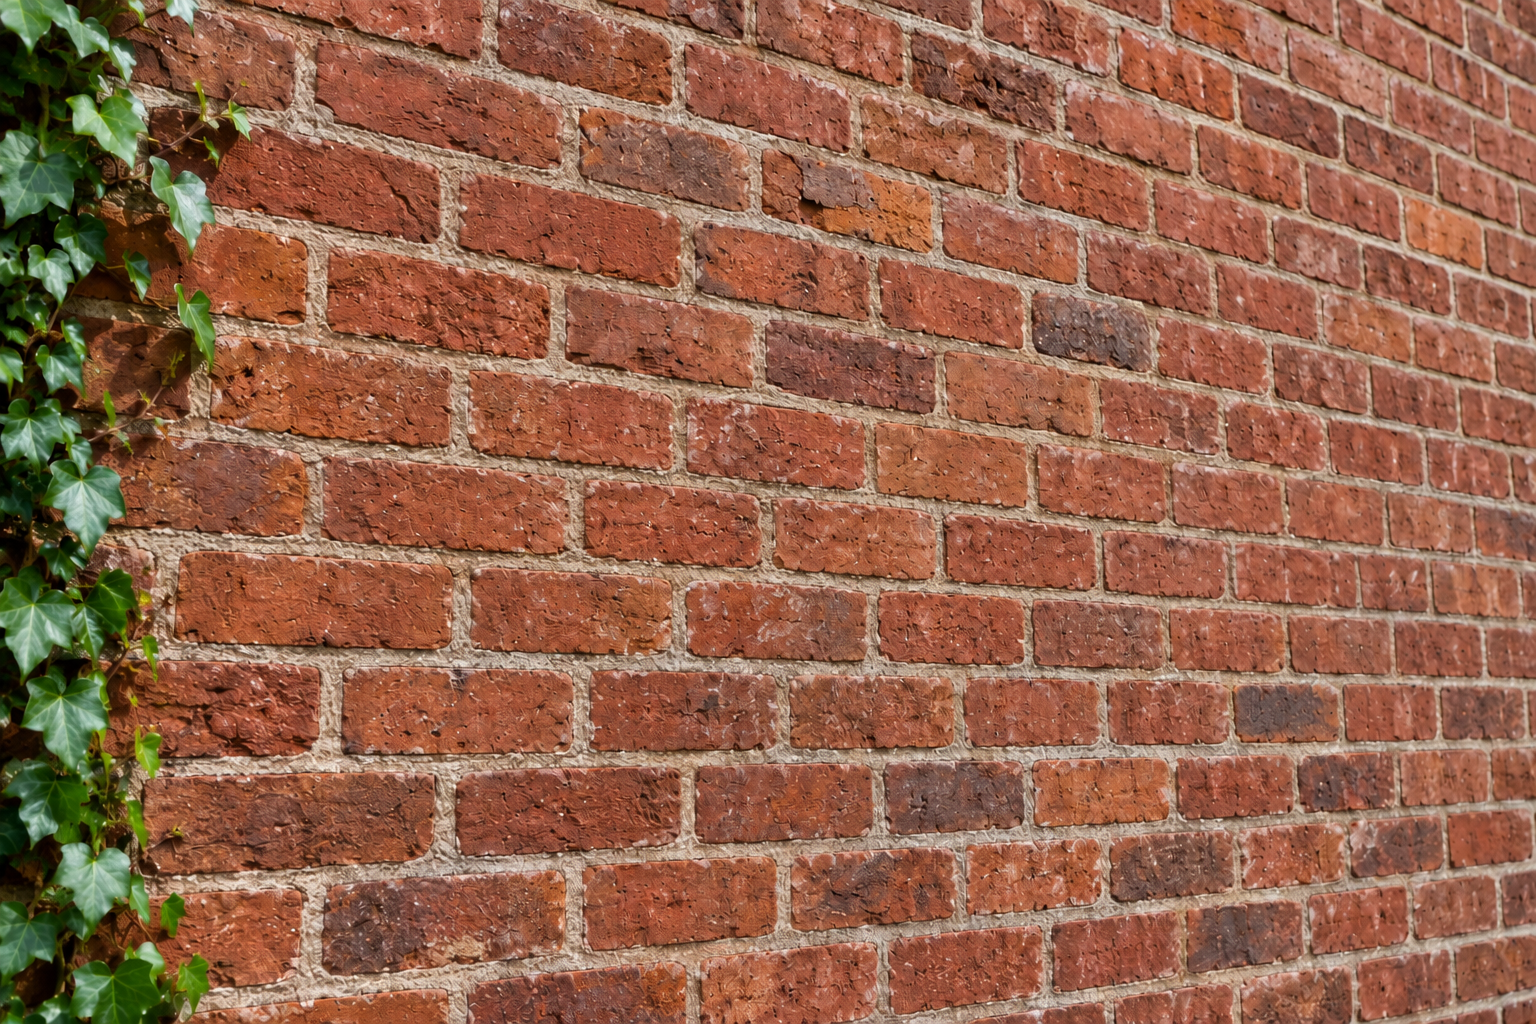
Inspect the center at 2×
Both previews are enlarged around their center in the same frame. This helps locate pattern changes; it is not a proof of pixel identity. Open the native files to inspect their actual resolution.
Follow mortar lines through the removed words
“OPEN THIS WEEKEND” crosses the bricks and their joints. Trace a horizontal mortar line from the visible original into the formerly covered area. Check joint width, brick edges, perspective and the ivy beyond the lettering.
Remove only "OPEN THIS WEEKEND". Continue the brick faces and mortar joints through the lettering, matching nearby line direction, joint width and texture. Keep the ivy, perspective, colors and daylight. Do not add writing, crop or redesign the wall.
The white lettering is gone. Brick rows and mortar continue through the target area, and the ivy remains visible. Enlarging the comparison shows differences in brick pits, cracks and mortar detail. Treat the fill as a generated repair, not an exact recovery of the covered wall.
Original generated source · Actual tool result · October 29, 2026.
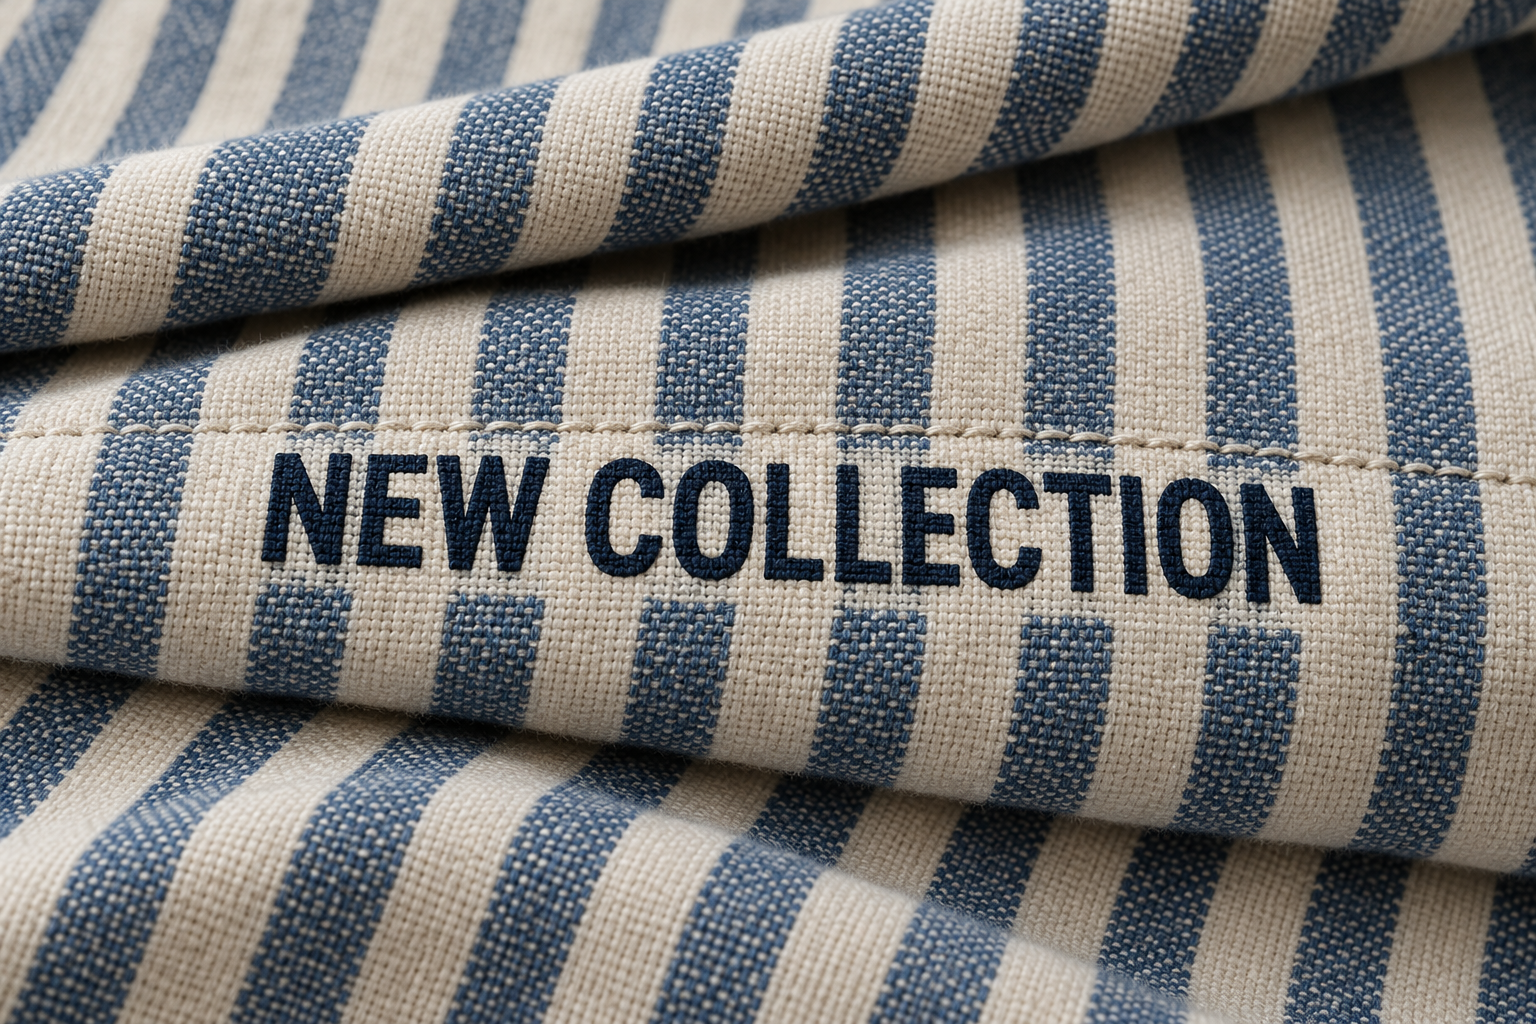
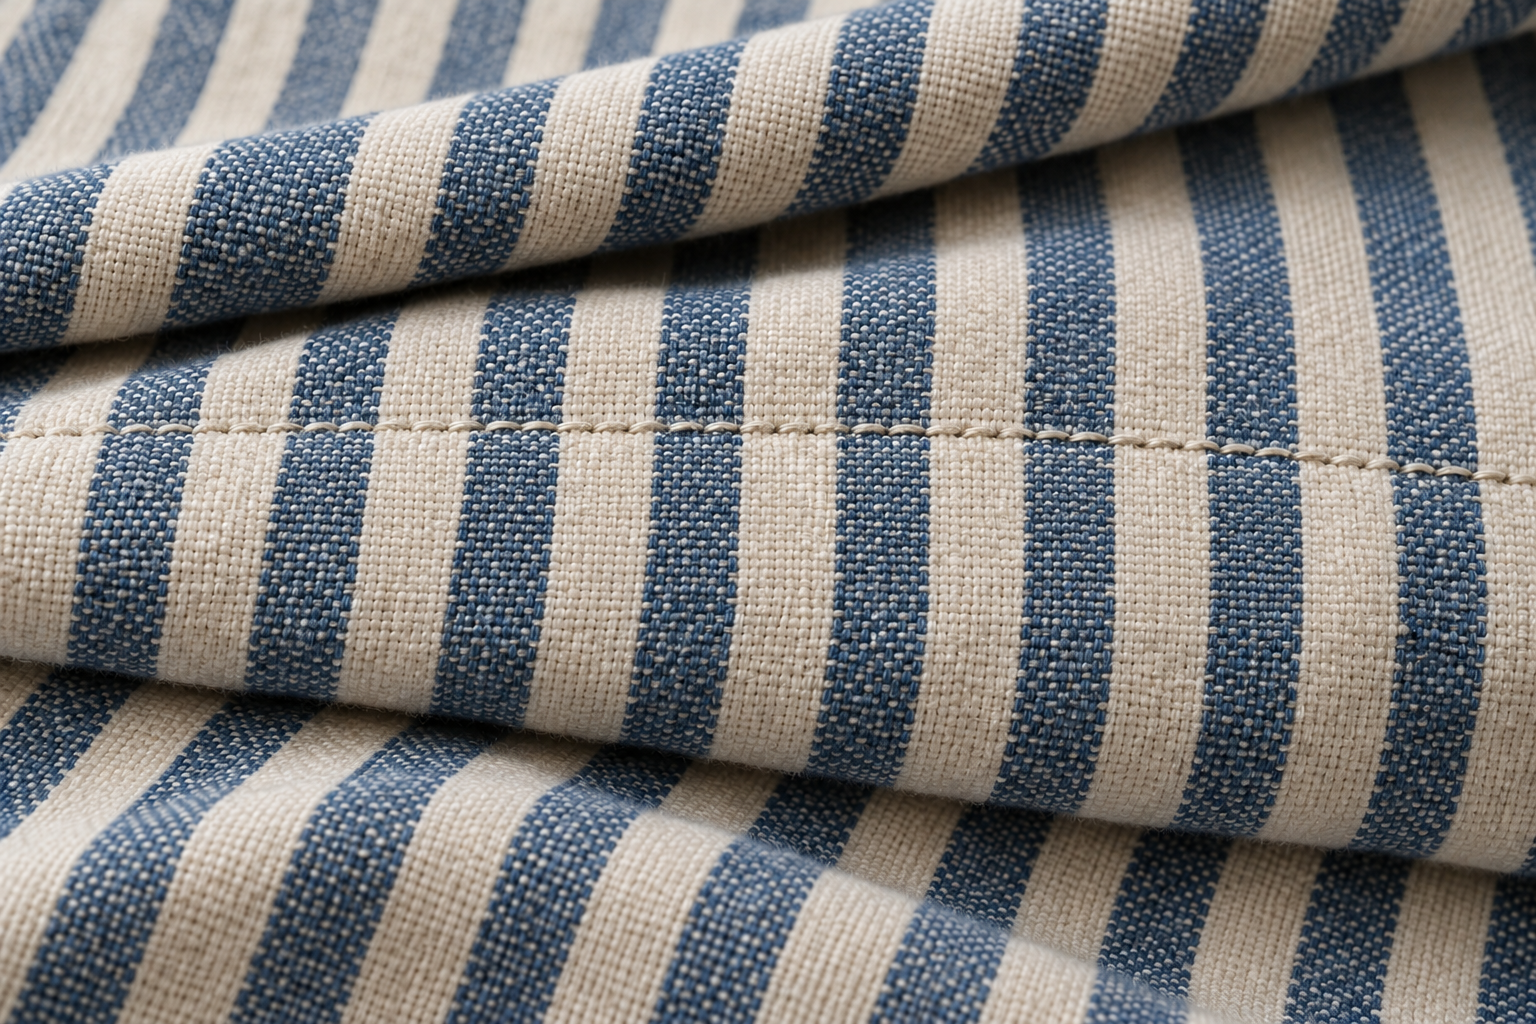
Inspect the center at 2×
Both previews are enlarged around their center in the same frame. This helps locate pattern changes; it is not a proof of pixel identity. Open the native files to inspect their actual resolution.
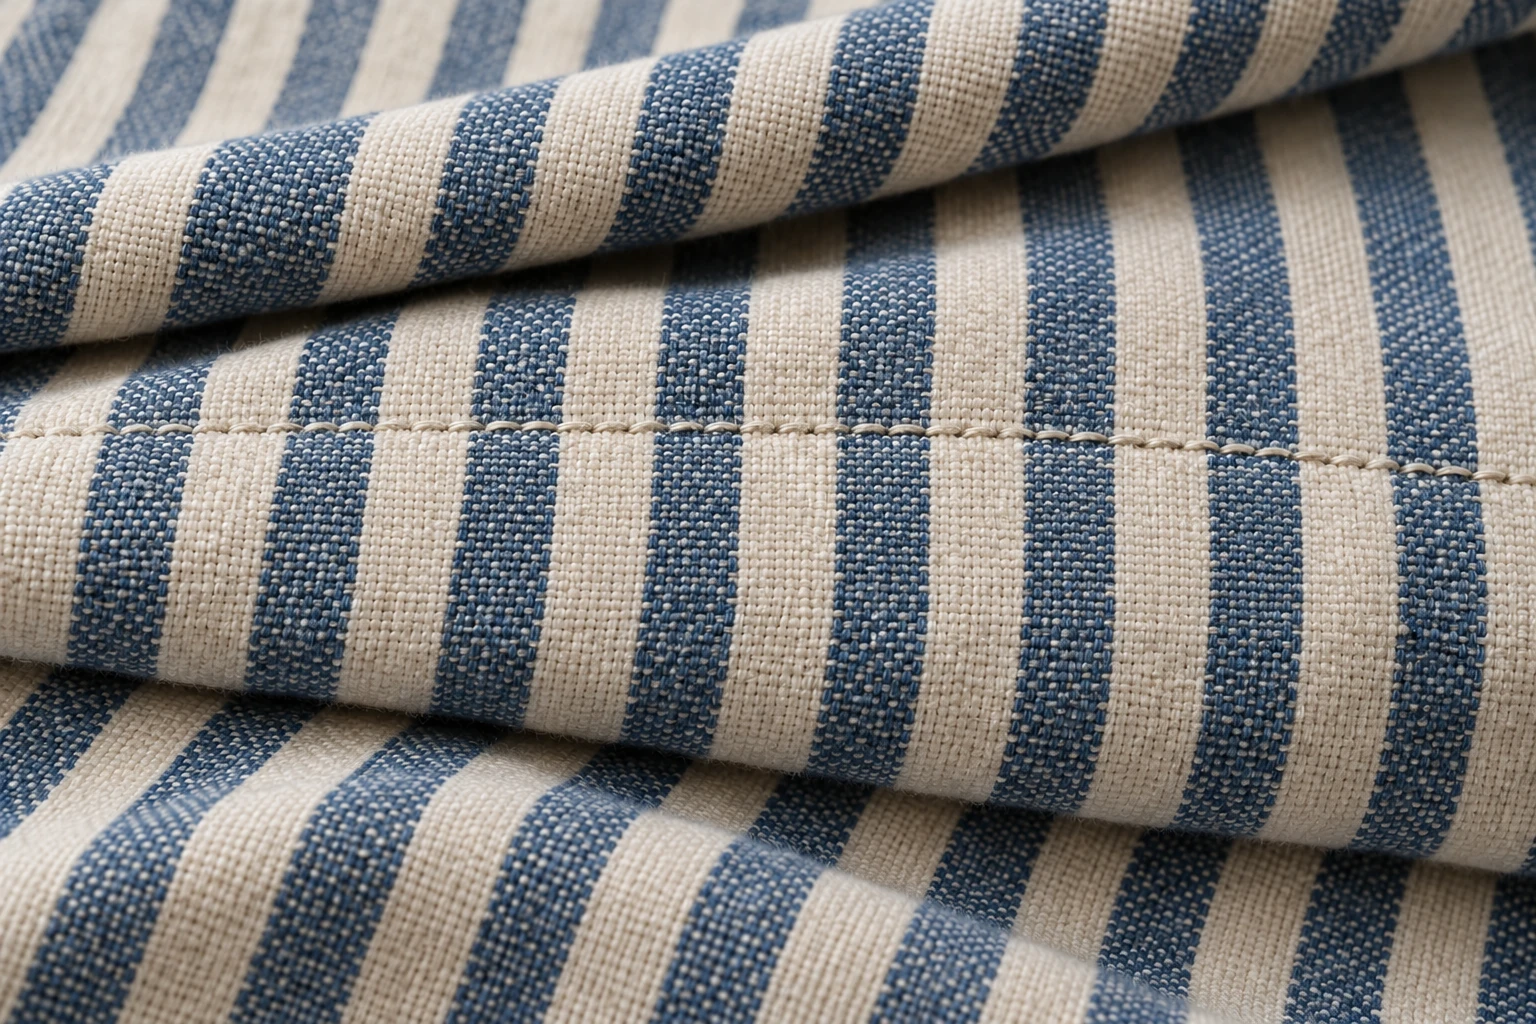
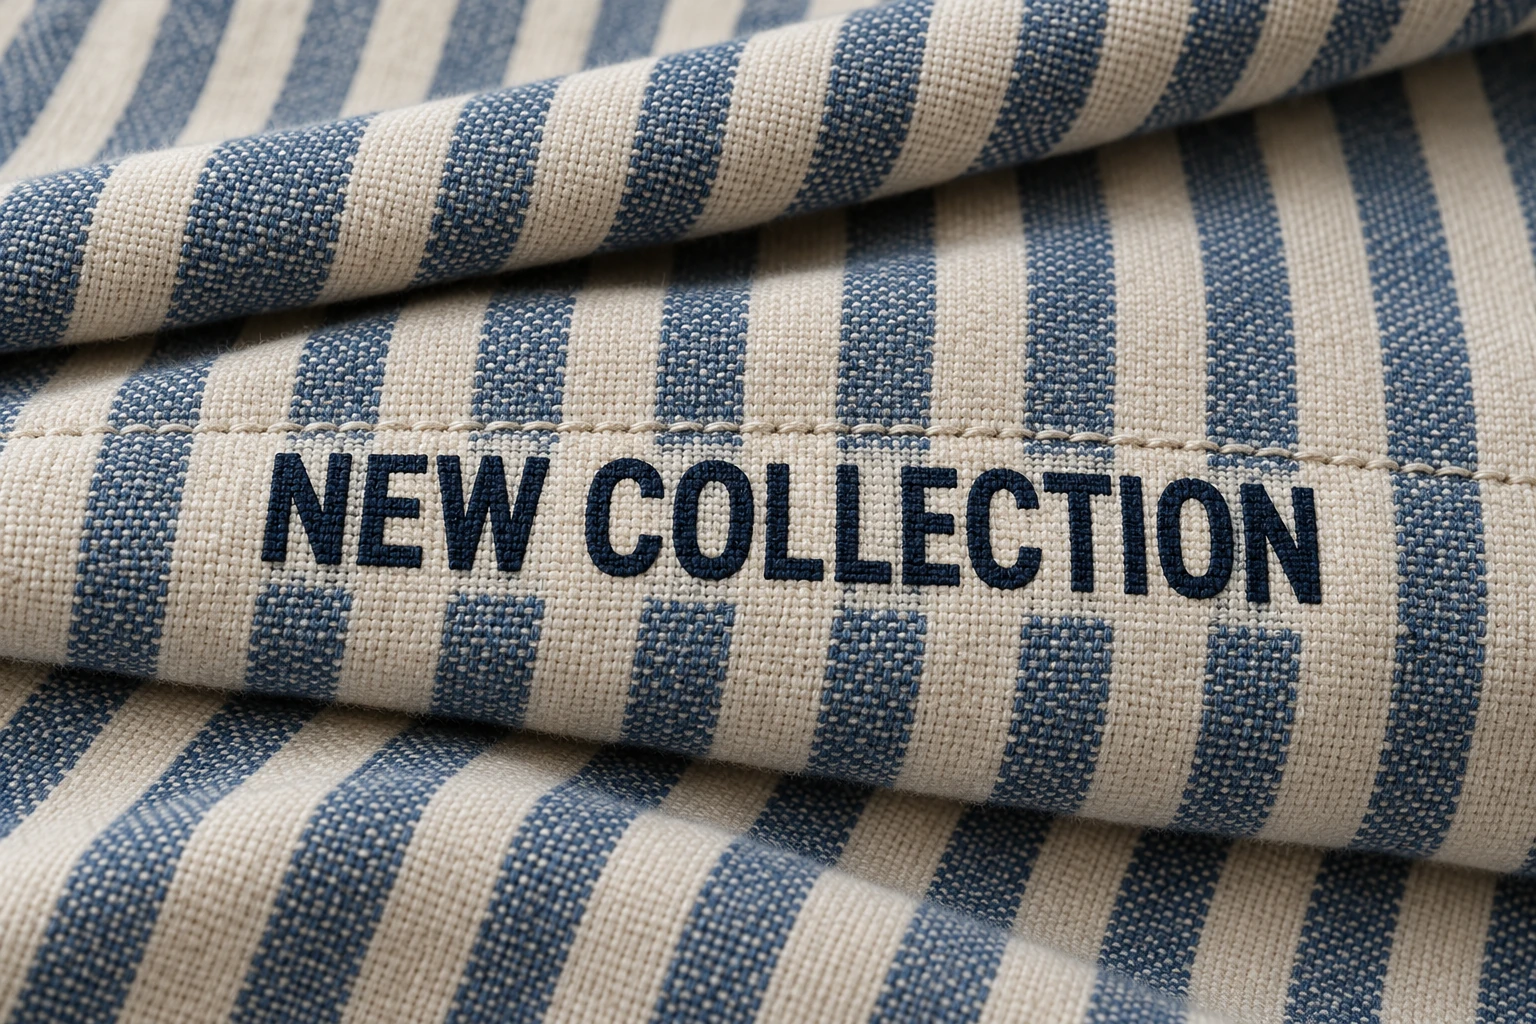
Check the stripe spacing and the weave
“NEW COLLECTION” covers narrow stripes, fine threads and fabric contours. A smooth fill can make the words disappear while disrupting the material. Follow the same stripe across the old text, then compare folds, the seam and nearby weave.
Remove only "NEW COLLECTION". Continue the blue and cream stripes and fine woven texture beneath the letters. Keep stripe direction and spacing, the seam, fabric folds, colors and lighting. Do not add writing, crop or redesign the fabric.
The navy lettering is gone, with blue and cream stripes continuing across the old text. The seam above the lettering and the folds remain visible. Fine thread groups, stripe edges and stitches differ when enlarged. Check the actual file before using it to represent an exact material pattern.
Remove the overlay. Check what replaced it.
The enlarged comparisons use the same source and actual result files as the full views. Enlargement does not add original detail or prove that the background stayed unchanged.
Accept, inspect again or use another method
Use a concrete repair checklist
Check the repair boundary
- Look for letter fragments, halos, abrupt smoothing and changes in brightness.
- Follow each line across the repaired region. Check its angle, width and spacing.
- Compare the texture frequency: coarse brick grain or fine threads should not turn into a blurred patch.
Check what needed to stay
- Compare object shapes, small lettering, seams, leaves and shadows outside the text.
- Inspect the entire image at your intended viewing size, then inspect important areas at native resolution.
- Check the downloaded dimensions. Do not infer print quality from a small browser preview.
| What you find | What to do next |
|---|---|
| Clean letters and a plausible pattern at your intended size | Check the rest of the image, then keep the result as a separate copy if it meets your requirements. |
| A broken joint, doubled stripe or smooth patch | Keep the original. Use a local edit to control that area, or test a new request knowing it may change other detail. |
| An important object or label changes | Reject that result for work requiring accurate detail. Prefer an unlettered original or a controlled local workflow. |
For lettering that must remain, use the specific text instructions. For a dark caption rectangle, inspect the caption bar examples as well as its letters.
Preservation, precision and the downloaded file
Text removal and background quality FAQ
Can I remove text without changing the background at all?
This workspace cannot promise an unchanged background. It generates replacement pixels for the text area and can also alter details elsewhere. Use the original as a reference and inspect the whole result. If pixels outside a small edit must remain exact, use an image editor with a controlled local selection rather than relying on this workflow.
Does the tool recover the original texture hidden under the letters?
No exact recovery is guaranteed. Covered areas are reconstructed using nearby context. New mortar, weave or grass may look plausible while differing from the hidden original. An unlettered source file is the best reference when you have one.
What instructions help with brick, fabric or other repeating patterns?
Quote the text to remove, name its location and describe the pattern to continue. Mention line direction, spacing, color, folds and any writing that must remain. These are model requests, not locks. Inspect joins and repeats after processing; a detailed instruction does not establish that the result is accurate.
Can I mask the letters or lock the rest of the image?
There is no manual mask, selection brush or pixel lock in this workspace. Upload your image and use Custom instructions to describe the task. For strict control over an edit boundary, work on a copy in an image editor that supports a local selection, then compare the finished file with the original.
Will my result have the same detail and dimensions as the original?
Do not assume that it will. Check the downloaded file dimensions and inspect it at the size you intend to use. A clean small preview can hide softened texture or changed edges. The native example downloads on this page let you compare actual source and result files.
Which files can I test, and how many credits does it use?
Use JPG, PNG or WebP files up to 20 MB each and 4,096 pixels on the longest edge. You can submit up to 10 images with one shared instruction. Each image currently costs 10 credits. Eligible new verified accounts currently receive 30 trial credits, enough for 3 images at that rate. Test one representative image first; a new attempt uses another task and credits.